Taking screenshots on a Mac can be done using various keyboard shortcuts or the built-in Screenshot application. This guide covers different methods to capture the entire screen, a portion of the screen, or a specific window/menu.
TLDR Section
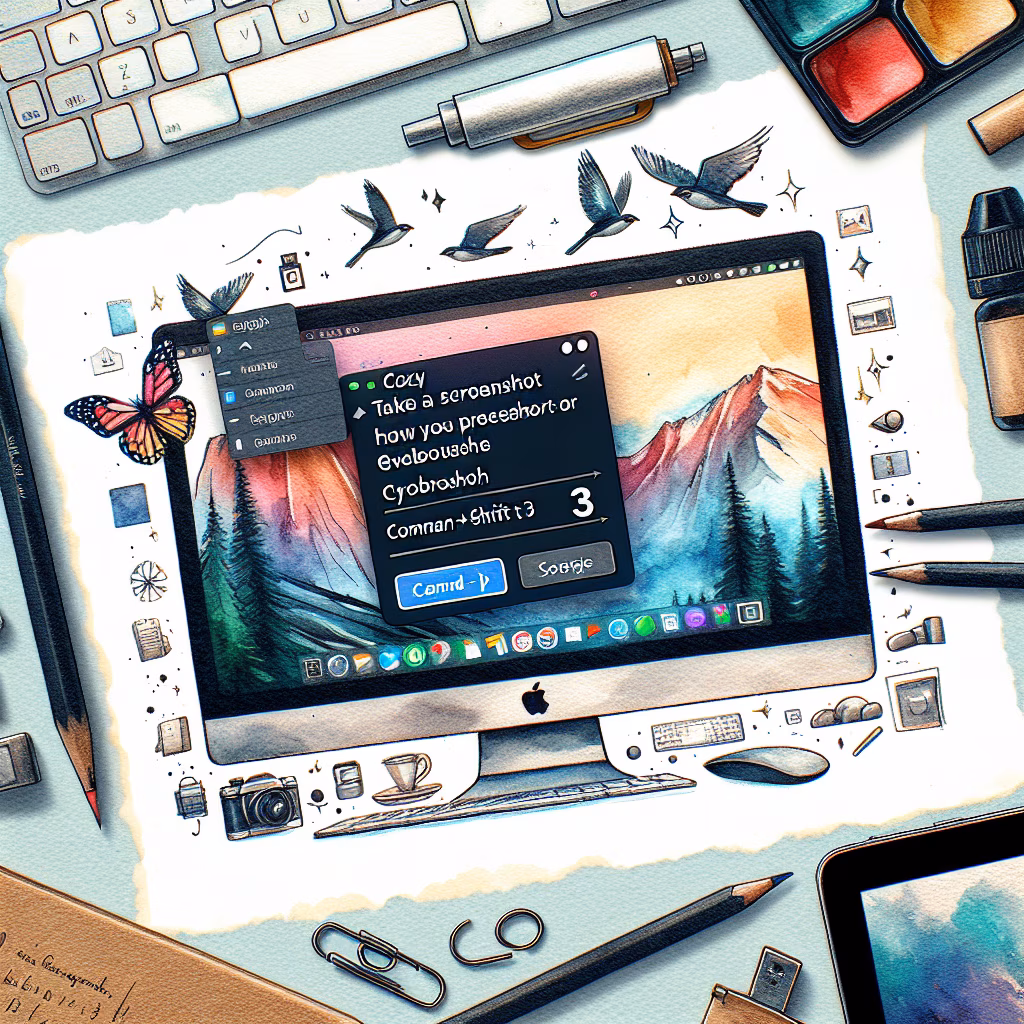
Cmd-Shift-3: Capture the entire screen.
Cmd-Shift-4: Capture a selected portion of the screen or a specific window/menu.
Cmd-Shift-5: Open the Screenshot app for more options, including screen recording.
Step-by-step Detailed Guide
1. Capturing the Entire Screen
Press and hold these three keys together: Shift, Command, and 3.
If you see a thumbnail in the corner of your screen, click it to edit the screenshot. Or wait for the screenshot to save to your desktop.
2. Capturing a Portion of the Screen
Press and hold these three keys together: Shift, Command, and 4.
Drag the crosshair to select the area of the screen to capture. To move the selection, press and hold the Space bar while dragging. To cancel taking the screenshot, press the Esc (Escape) key.
To take the screenshot, release your mouse or trackpad button.
If you see a thumbnail in the corner of your screen, click it to edit the screenshot. Or wait for the screenshot to save to your desktop.
3. Capturing a Window or Menu
Open the window or menu that you want to capture.
Press and hold these keys together: Shift, Command, 4, and Space bar. The pointer changes to a camera icon.
Click the window or menu to capture it.
To cancel taking the screenshot, press the Esc (Escape) key.
4. Using the Screenshot App
On your Mac, press Shift-Command-5 (or use Launchpad) to open the Screenshot app and display the tools.
Click a tool to use to select what you want to capture or record:
Capture the entire screen
Capture a window
Capture a portion of the screen
Record the entire screen
Record a portion of the screen
Drag the frame to reposition it or drag its edges to adjust the size of the area you want to capture or record.
Click Options to set additional preferences like a timed delay, showing the mouse pointer, or specifying where to save the file.
Click Capture or Record to complete the action.
For more information, you can visit the following links: